So you’ve read our All About Audio Part 1 post, but you need more audio options? No worries, let’s continue on to discuss handheld microphones, adapters, boom microphones, and mixers!
A handheld microphone is what you typically see on the news, with a news anchor holding it out on the field while broadcasting and interviewing. These are great for iJournalists going out to make their own shows and interviews. The Samson Stage X1U Wireless Handheld Microphone for $99, is one of our favorites. This is a two part set up, one being the microphone and the other being the receiver that will plug directly into your device. Unfortunately the receiver is a USB connection, so to work with your iOS device you will need this USB to Lightning Adapter!
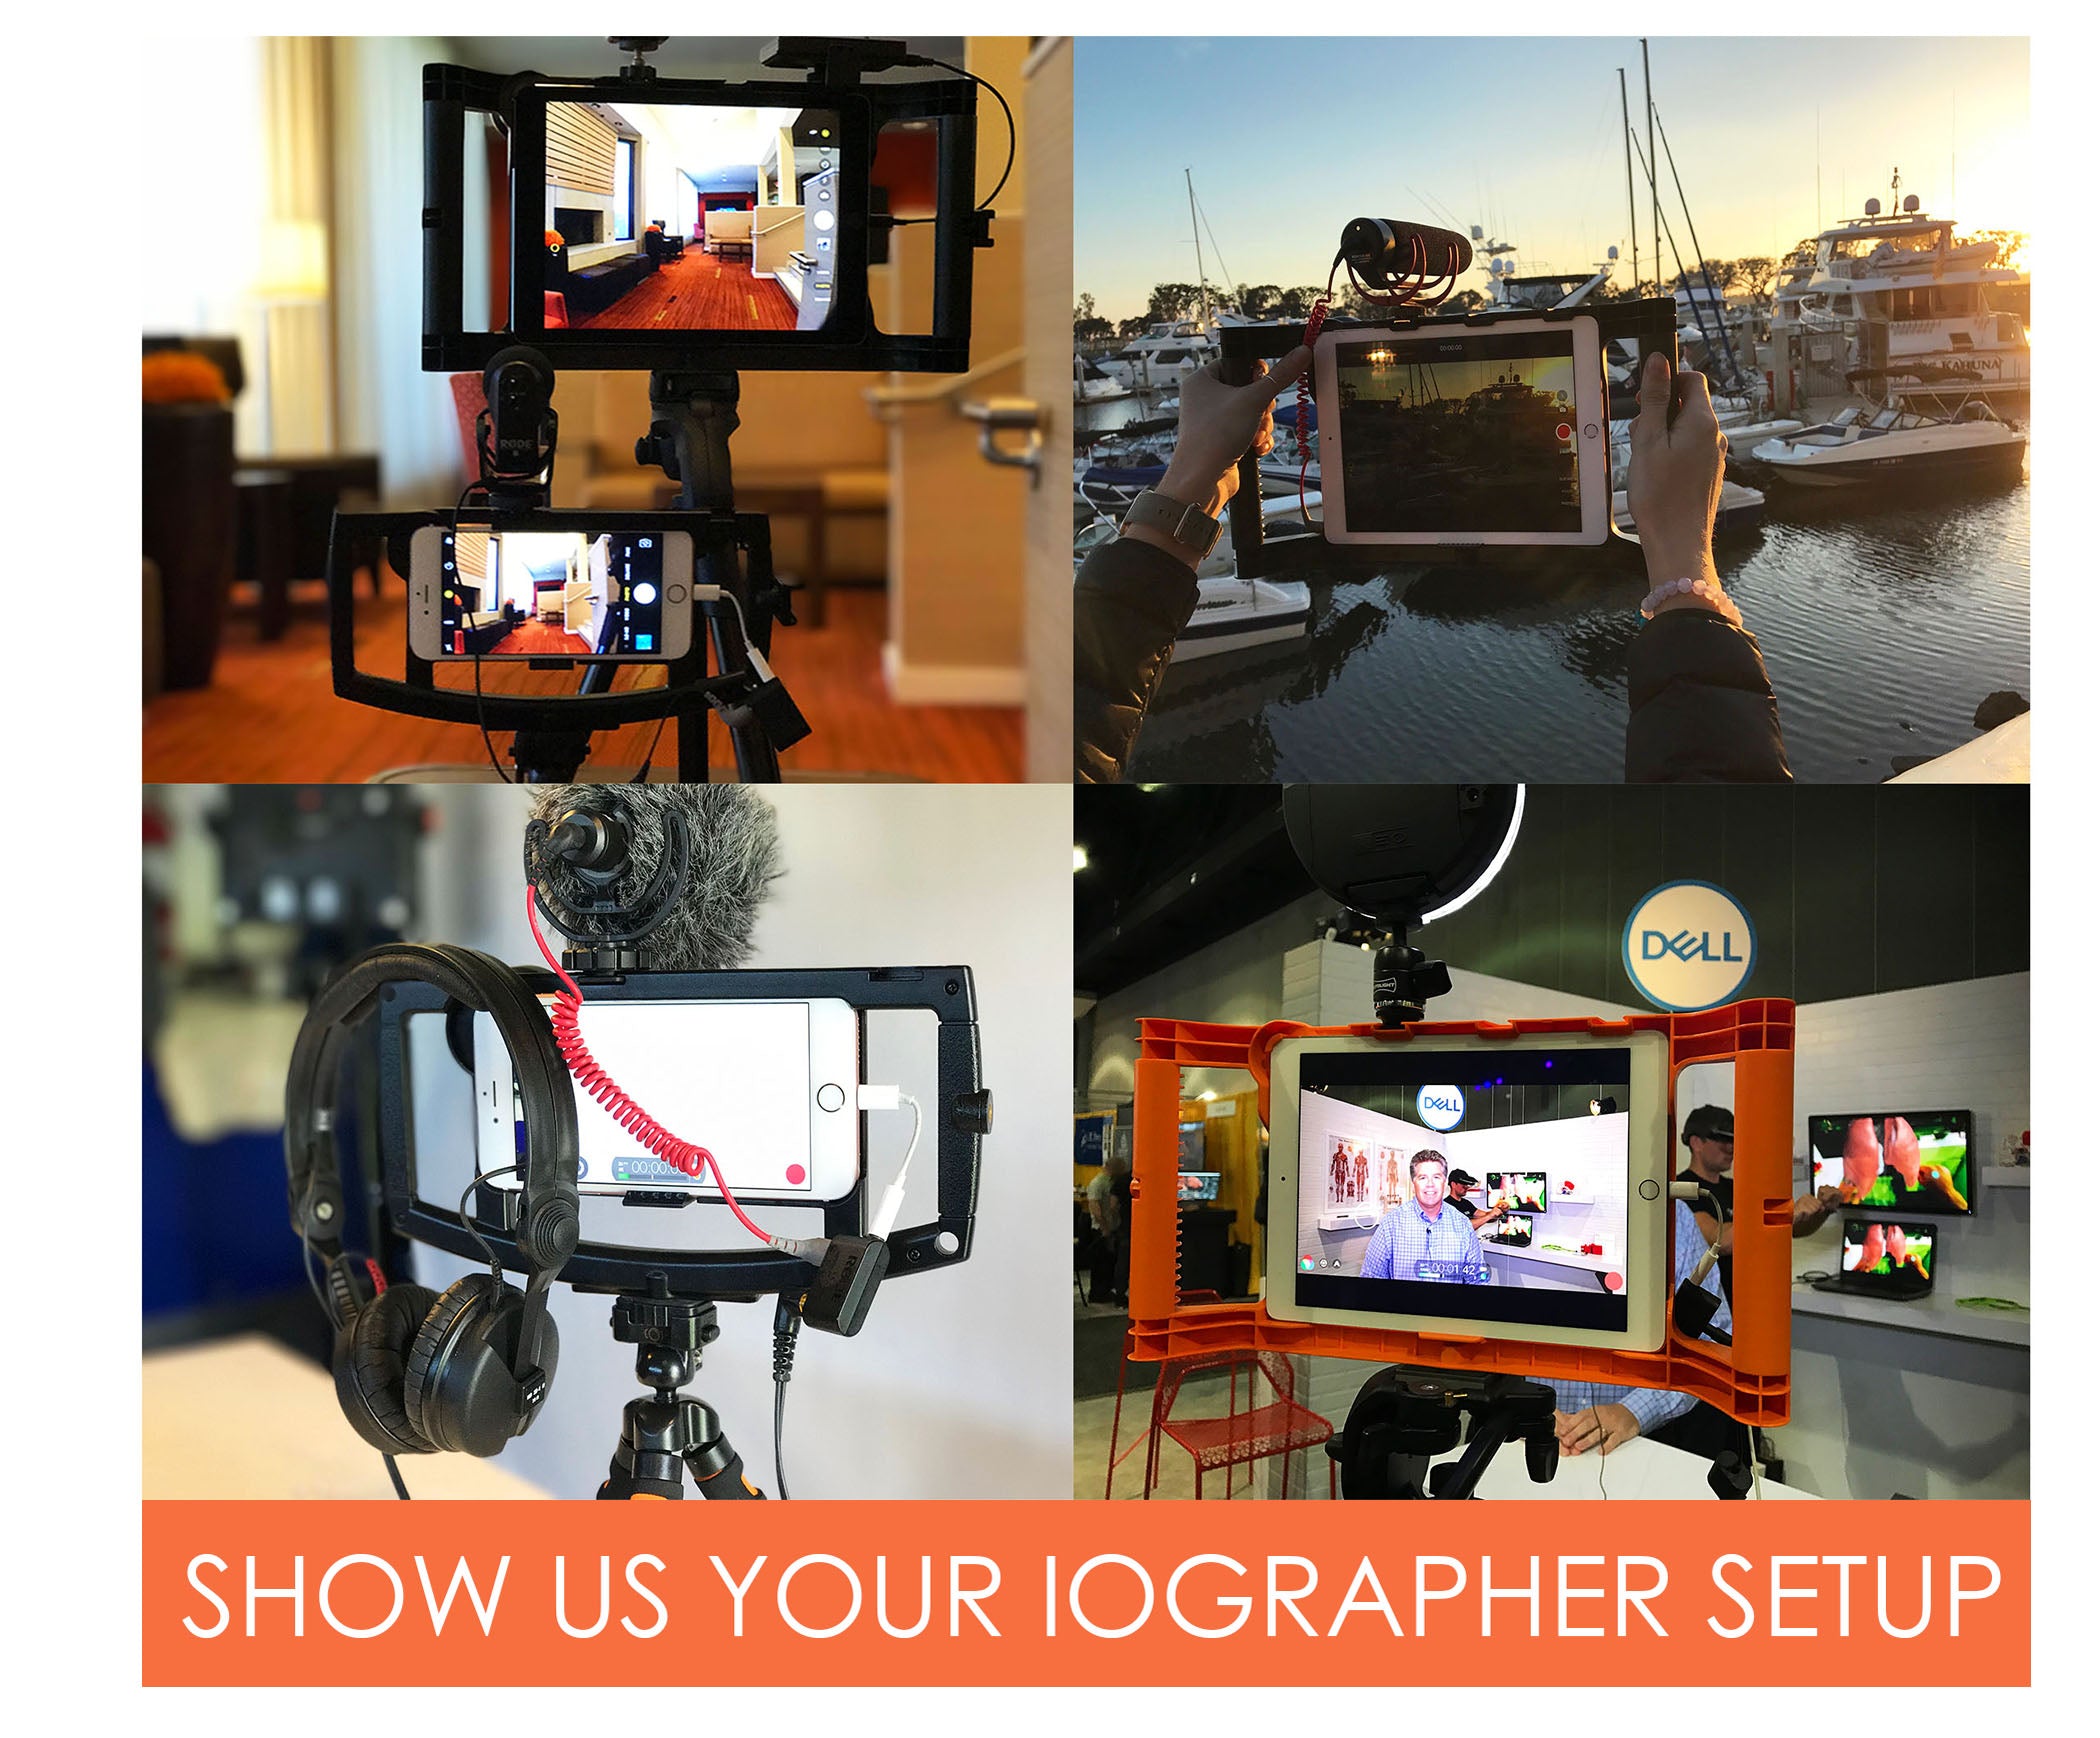
The last category of mics we will cover is the boom microphone, which are often used in filmmaking. You will have a boom pole, which is like a long fishing pole, which you attach a microphone and connect the cable to your iOS device. You use a boom mic when you don’t want a microphone to be visible. This is great for filmmaking, especially when you’re doing an action shot and a normal microphone just won’t cut it! You can hold the boom on top of who you’re filming, and it will pick up their audio. They are a timeless tradition in Hollywood, and they can be added to your iOS iOgrapher set up!
What if you already have a microphone, maybe with your school’s equipment, but it’s older and definitely not compatible with today’s mobile devices? Chances are most older microphones are going to have a XLR connection. The iRig Pre allows you to plug that big, XLR cable into one end, then the TRRS connection into your iOS device. This allows you to use an old quality microphone with your iPhone. The iRig Pro connects an XLR microphone to a lightning port, and it allows you to change levels, loudness, and so on. If you have a Rode XLR microphone, this Rode XLR to lightning adapter will allow you to use it with your iOS device. These are all great ways to upgrade an old microphone on a limited budget.
The last topic is audio mixers. These are great tools that will allow you to harmonize the audio levels of multiple incoming voices, and switches the audio from mono to stereo. Something important to know is that by default, your iOS device captures audio through the headphone jack (or lightning jack for you iPhone 7/7Plus users). If you plug in a microphone, it will sound great 90 percent of the time. However, audio coming from the headphone jack, is a mono track, meaning only one line of audio can come in. When you need more than one line coming in, you need it to come in through a stereo track, which the headphone jack can’t do. Audio coming through a lightning jack is stereo, so iPhone 7 users can ignore this!
Once you’ve mastered the simple use of a shotgun microphone and lavalier microphone, as we suggest, then you can be ready to graduate to the next level to explore bringing in multiple sources of audio. To do this, you can use a mixer. Our number one choice is the MXL Mini Mixer. This will accept four lines of TRRS audio, and will plug into your device via your headphone jack. It has gain controls so that you can adjust those four lines of audio individually, and it also has a headphone jack so that you can plug in headphones to monitor audio as you record.
If you want to learn more about audio mixers and any other audio setup options, be sure to checkout Dave Basulto’s book, Life Camera Action which covers more products and solutions! Still confused? Email us your questions! support@iographer.com


Leave a comment
This site is protected by hCaptcha and the hCaptcha Privacy Policy and Terms of Service apply.