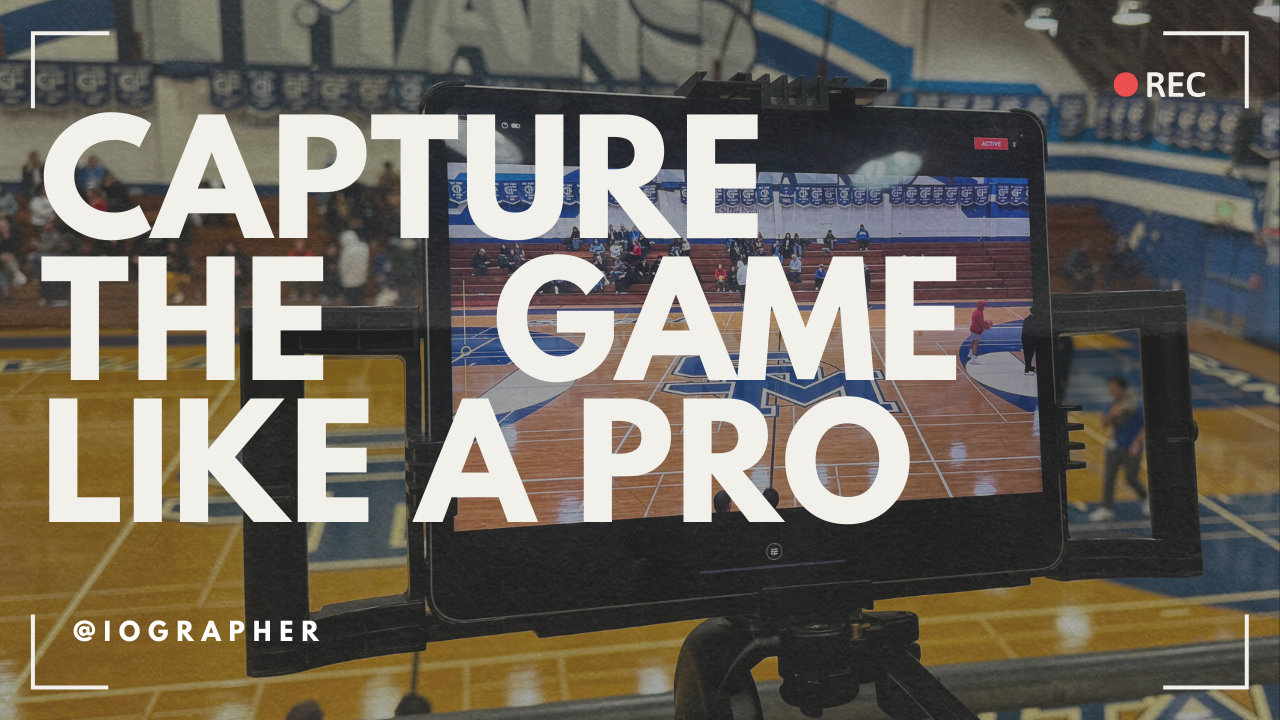
Capturing the fast-paced action of youth sports can be a thrilling yet challenging endeavor. Whether you're a parent wanting to preserve memories, a coach aiming to analyze gameplay, or an educator documenting school events, iOgrapher offers the perfect solution to elevate your sports videography. This guide will walk you through the essentials of filming youth sports, ensuring you capture every moment with clarity and impact.
1. Preparation is Key
Know the Sport: Understanding the game's flow helps anticipate key moments, ensuring you're always ready to capture the action.
Scout the Location: Visit the venue beforehand to identify the best spots for filming. Look for elevated positions that offer a clear view of the entire field or court.
Check Your Equipment: Ensure your iOgrapher case is fitted correctly to your device. Charge your device fully and bring extra batteries or a portable charger if available.
2. Setting Up Your iOgrapher Gear
Mount Your Device: Secure your iPad or iPhone in the iOgrapher case. The case's two handles offer stability, reducing shake for clearer footage.
Attach Accessories: Utilize the accessory shoes to mount a microphone for better audio and a light if you're shooting indoors or in low-light conditions. Consider using a wide-angle or telephoto lens to enhance your shot composition.
Use a Tripod: Attach your iOgrapher case to a tripod using the 1/4 20 thread for extended filming. This setup is ideal for static wide shots that capture the entire game.
3. Filming Techniques
Vary Your Shots: Use a mix of wide shots to show overall team formations and close-ups to capture individual skills and emotions. Panning shots can follow the action, while static shots can capture the atmosphere and reactions.
Follow the Action: Using smooth and slow pans, keep the main action in the frame. Anticipate plays and movements to keep your footage focused.
Capture Reactions: Don’t forget to film the reactions of the crowd, coaches, and players off the ball. These moments add depth to your story.
4. Optimizing Video Quality
Focus and Exposure: Before filming, tap on your device's screen to set the focus and exposure on the area where most action will occur. Adjust as needed during the game.
Stabilize Your Shots: Use the iOgrapher's handles to keep your device steady. If you're moving, do so smoothly and slowly to avoid shaky footage.
Consider the Lighting: Be mindful of the sun's position or artificial lighting to avoid glare or shadows on your footage.
5. Post-Game Editing and Sharing
Review and Edit: Use editing software to trim your footage, add slow-motion effects for dramatic plays, and insert titles or graphics to highlight scores or player names.
Share Your Highlights: Upload your edited video to social media platforms, team websites, or send directly to parents and players. Use hashtags or tags to increase visibility.
6. Continuous Learning
Analyze Your Footage: After each game, review your footage to identify areas for improvement. Note what worked well and what didn’t.
Stay Updated: Keep abreast of the latest iOgrapher accessories and updates that can enhance your filming capabilities.
Engage with the Community: Join iOgrapher user groups or online forums to share tips, ask questions, and learn from other sports videographers.
By following this guide and leveraging the power of iOgrapher, you're well on your way to capturing youth sports in a way that's both professional and impactful. Remember, practice makes perfect, and every game is an opportunity to refine your skills and tell a new story. Happy filming!


Leave a comment
This site is protected by hCaptcha and the hCaptcha Privacy Policy and Terms of Service apply.